It’s been a long time coming, but I’m finally getting around to writing about Reclaim Open. Reading Tim’s post on his pinball streaming rig for Reclaim Arcade has inspired me to start with the streaming / recording setups we used for Reclaim Open and how that all came together! This post has become so long that I’m positive no one will read it, but hey it will be useful for me to look back on!
From the early stages of planning Reclaim Open we knew that we would want to do some kind of recording of the sessions and keynotes, but we weren’t 100% sure what we were going to be able to pull off given we would have to pack and bring any necessary equipment to UMW for the week of the conference. In addition to that, not being able to truly test things out ahead of time in the space you will be recording in makes anything like this difficult and nerve-racking.
My goal was to capture the presenters on camera, as well as capture their screen to get any demos, slides, or videos they were showing. Finally, I wanted some kind of mic setup, so the presenters sounded their best, as bad audio can really ruin any recording. That really comes down to two video sources, and a mix of up to 4 microphones per room (because we had one session with 4 presenters). I do something like this at home (but with just one microphone) all the time using OBS and StreamYard for Reclaim EdTech events, but this would be a lot trickier to do at the conference across two classrooms and the auditorium space. On top of that, as much as I like OBS and what it can do, we weren’t going to have a bunch of spare laptops, nor would we have the time to train a team of people to operate a complicated OBS setup in each room.
Yolobox Pro
After observing Tim’s success using the Yolobox Pro for pinball streams at the arcade, Jim recommended we pick up one to use for Reclaim Open. By borrowing Tim’s device and using the one we just purchased, we could record and stream sessions in two classrooms simultaneously without the use of any laptops or OBS. If you are unfamiliar with the Yolobox Pro, I’d recommend checking out the video below for a pretty good overview of what it can do, and why it’s interesting:
If you don’t to watch that1, the short story is that this box can take multiple video sources via HDMI (or a USB webcam) as well as audio over analog input (or USB). It then lets you switch between those sources, as well as mix them and display them in different layouts. You can also do some basic overlays with text and images. It even has a built-in scoreboard feature!2 On top of that, the Yolobox itself can record to an SD card, as well as stream over Wi-Fi or a cellular connection (it supports sim cards and USB modems). Because of all that, it truly is a nice portable device that replaces capture devices, OBS, and your laptop in the whole streaming setup!
A quick aside: In that video above, the presenter mentions how cool it would be to do stuff like this on an iPad. I noticed that at WWDC this year, one of the smaller announcements was that they are bringing external webcam support to iPadOS. I think this could actually be a big deal in the mobile streaming/recording space, and we could very well see video capture devices designed for iPad in the next year or two. If video capture devices come out that work with the iPad and someone puts out good streaming software that can take advantage of that capability, that might make the Yolobox a bit unnecessary. This would especially be the case given the Apple Silicon chips are, particularly compared to other mobile devices. It would be really cool to see what types of devices we are using to stream and record conferences 5–10 years from now, it might just be a few iPad minis (and capture devices, cameras, and mics, of course).
StreamYard
For streaming the keynotes from the Digital Auditorium I decided I would use StreamYard, which we use for a lot of Reclaim stuff, and we’re big fans of. StreamYard has some nice OBS-like features that would allow me to add a bit more polish to our keynote streams, like titles and lower thirds, “Getting started” scenes with music etc. On top of that, it’s still pretty easy to use, and not entirely tied to my laptop (it’s all web-based), so if necessary somebody else could step in and take my place relatively easily.
The Gear
With that game plan, we had the centerpieces of our streaming setups figured out for both the regular sessions and keynotes. Now I just had to figure out the rest of the gear, and how it was getting to Fredericksburg. Some of it was stuff that we bought for Reclaim Open, some was stuff that I already had and could bring along, some was stuff Tim had at the arcade, and some of it we borrowed from Andy Rush. Thanks, Andy!
Cameras
We needed 3 cameras, and it turned out that between Tim and I, we could bring 3 matching Sony ZV-1s which really made things simple. I love these little cameras, and I use one just about every day as my webcam. They are small, relatively simple, and are easy to power over Micro USB. They are great little cameras! Really, the main downside with them is I’ve found that in warm environments they can overheat when recording for a long time at 4K. Oh, and they output over Micro HDMI, which is a terrible connector to deal with, but that’s par for the course for cameras this small. Luckily, you can overcome that pain with some nice cables.
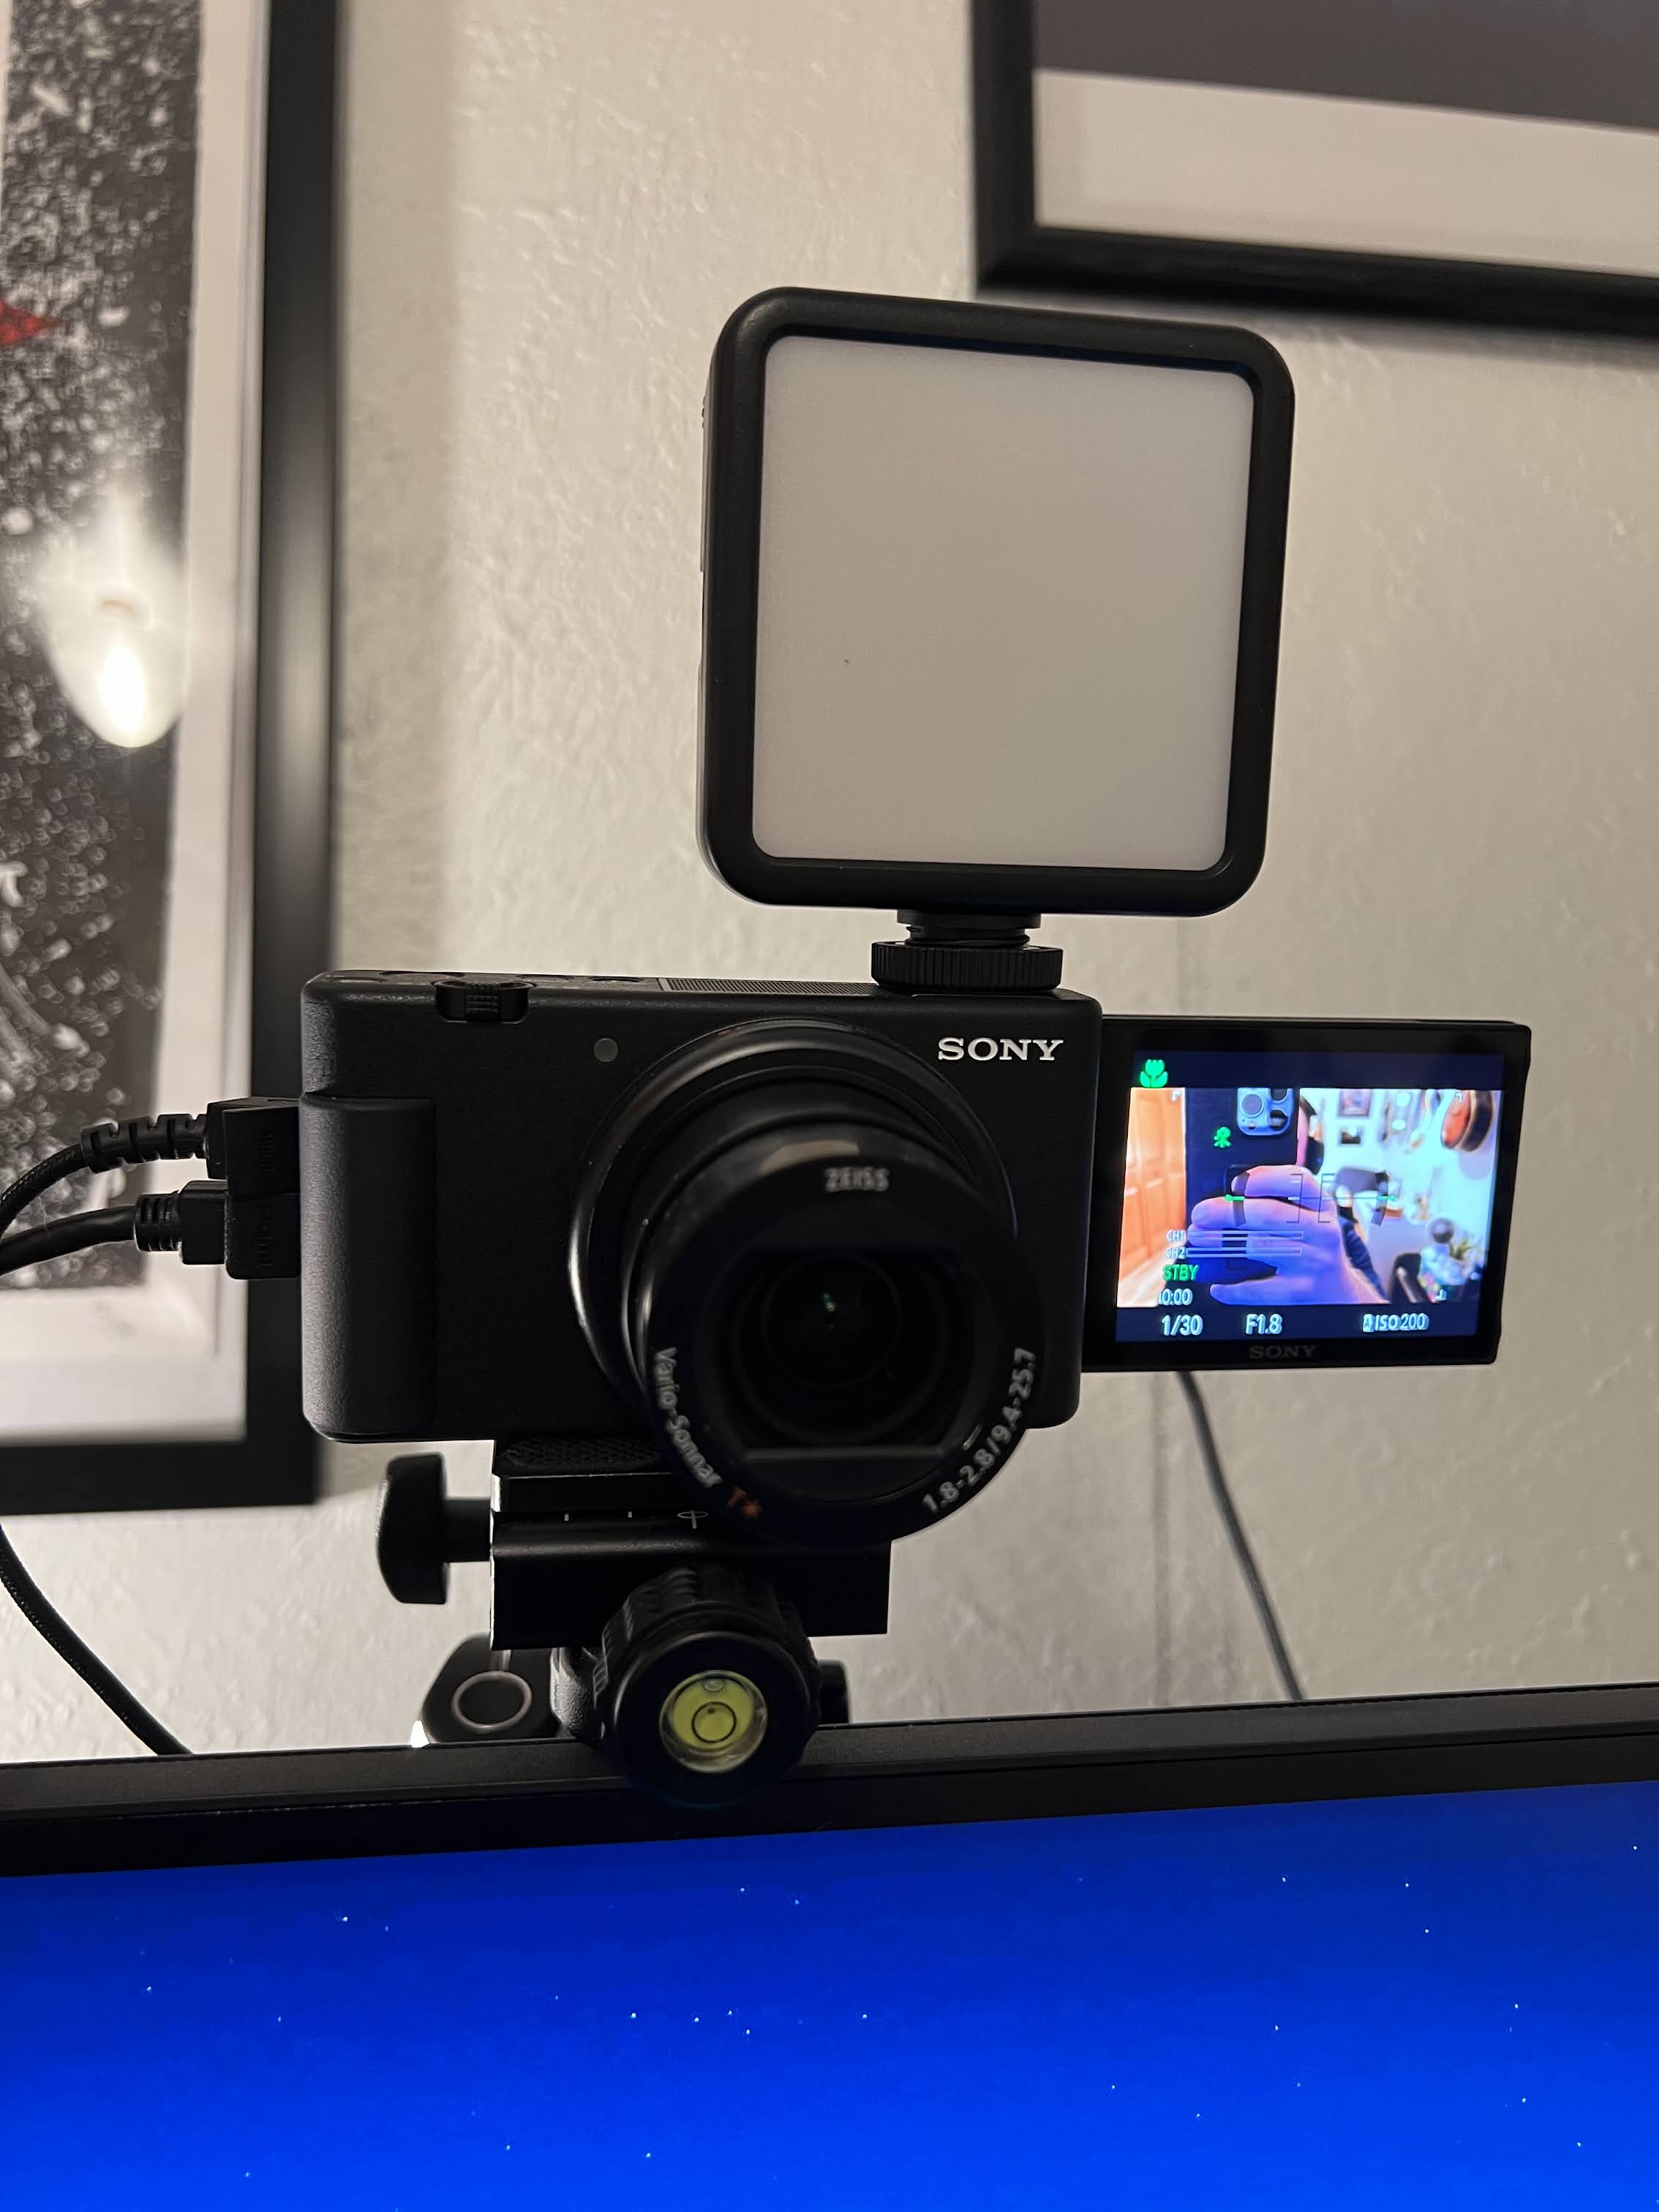
My ZV1 that I use as my primary webcam at my desk at home. In the flip out screen, you can see the image of someone who should be writing this very blog post, but instead is taking a mostly unnecessary picture.
Speaking of cables, we used 10ft long Micro HDMI to HDMI cables from UGREEN to plug the cameras into each Yolobox, as well 10 ft HDMI extension cables to give us a little more length to play with. For our Keynote setup where we were using my laptop the camera plugged into an Elgato Cam Link 4K.
Audio
Between some microphones and gear that I bought, and some stuff Andy generously let us borrow, and the microphones available in the Digital Auditorium, we pieced together three different setups to meet our needs.
In one classroom we had two Rode Wireless GO lav mics, as well a set of two Sennheiser lav mics all plugged into a Tascam Portacapture X8. The Tascam device was basically acting as a fancy portable mixer, and mixed all the microphones in that room down to a 3.5 mm analog audio cable which was plugged into the Yolobox. Rode’s Wireless GO lav mics are fantastic little microphones that are relatively inexpensive, simple to use, and sound excellent. I’ve used them for many projects in the past, and I can’t recommend them highly enough. We didn’t really end up needing to use the Sennheiser Lav mics, but we wanted to have 4 mics available in each classroom, so we had them on-hand just in case.
In the other classroom, we used two sets of Rode Wireless GO II mic systems. These have one receiver that pairs with 2 mics, and we got two of those, to bring us to 4 mics total. I had never used these before, but based on my experience with the Rode Wireless GO mics, I was pretty confident they would work well, and I ended up being really impressed with them. I swear this blog post isn’t sponsored by Rode. The nice thing about these is the receiver can either output the mics to separate channels or down mix them both to mono, which gives nice flexibility for lots of use cases. While we were doing everything live and didn’t need that flexibility, having the option to separate out audio tracks means that you could run these into a mixer or audio interface and individually control each mic’s volume, or edit each speaker’s audio independently after the fact. Super handy!
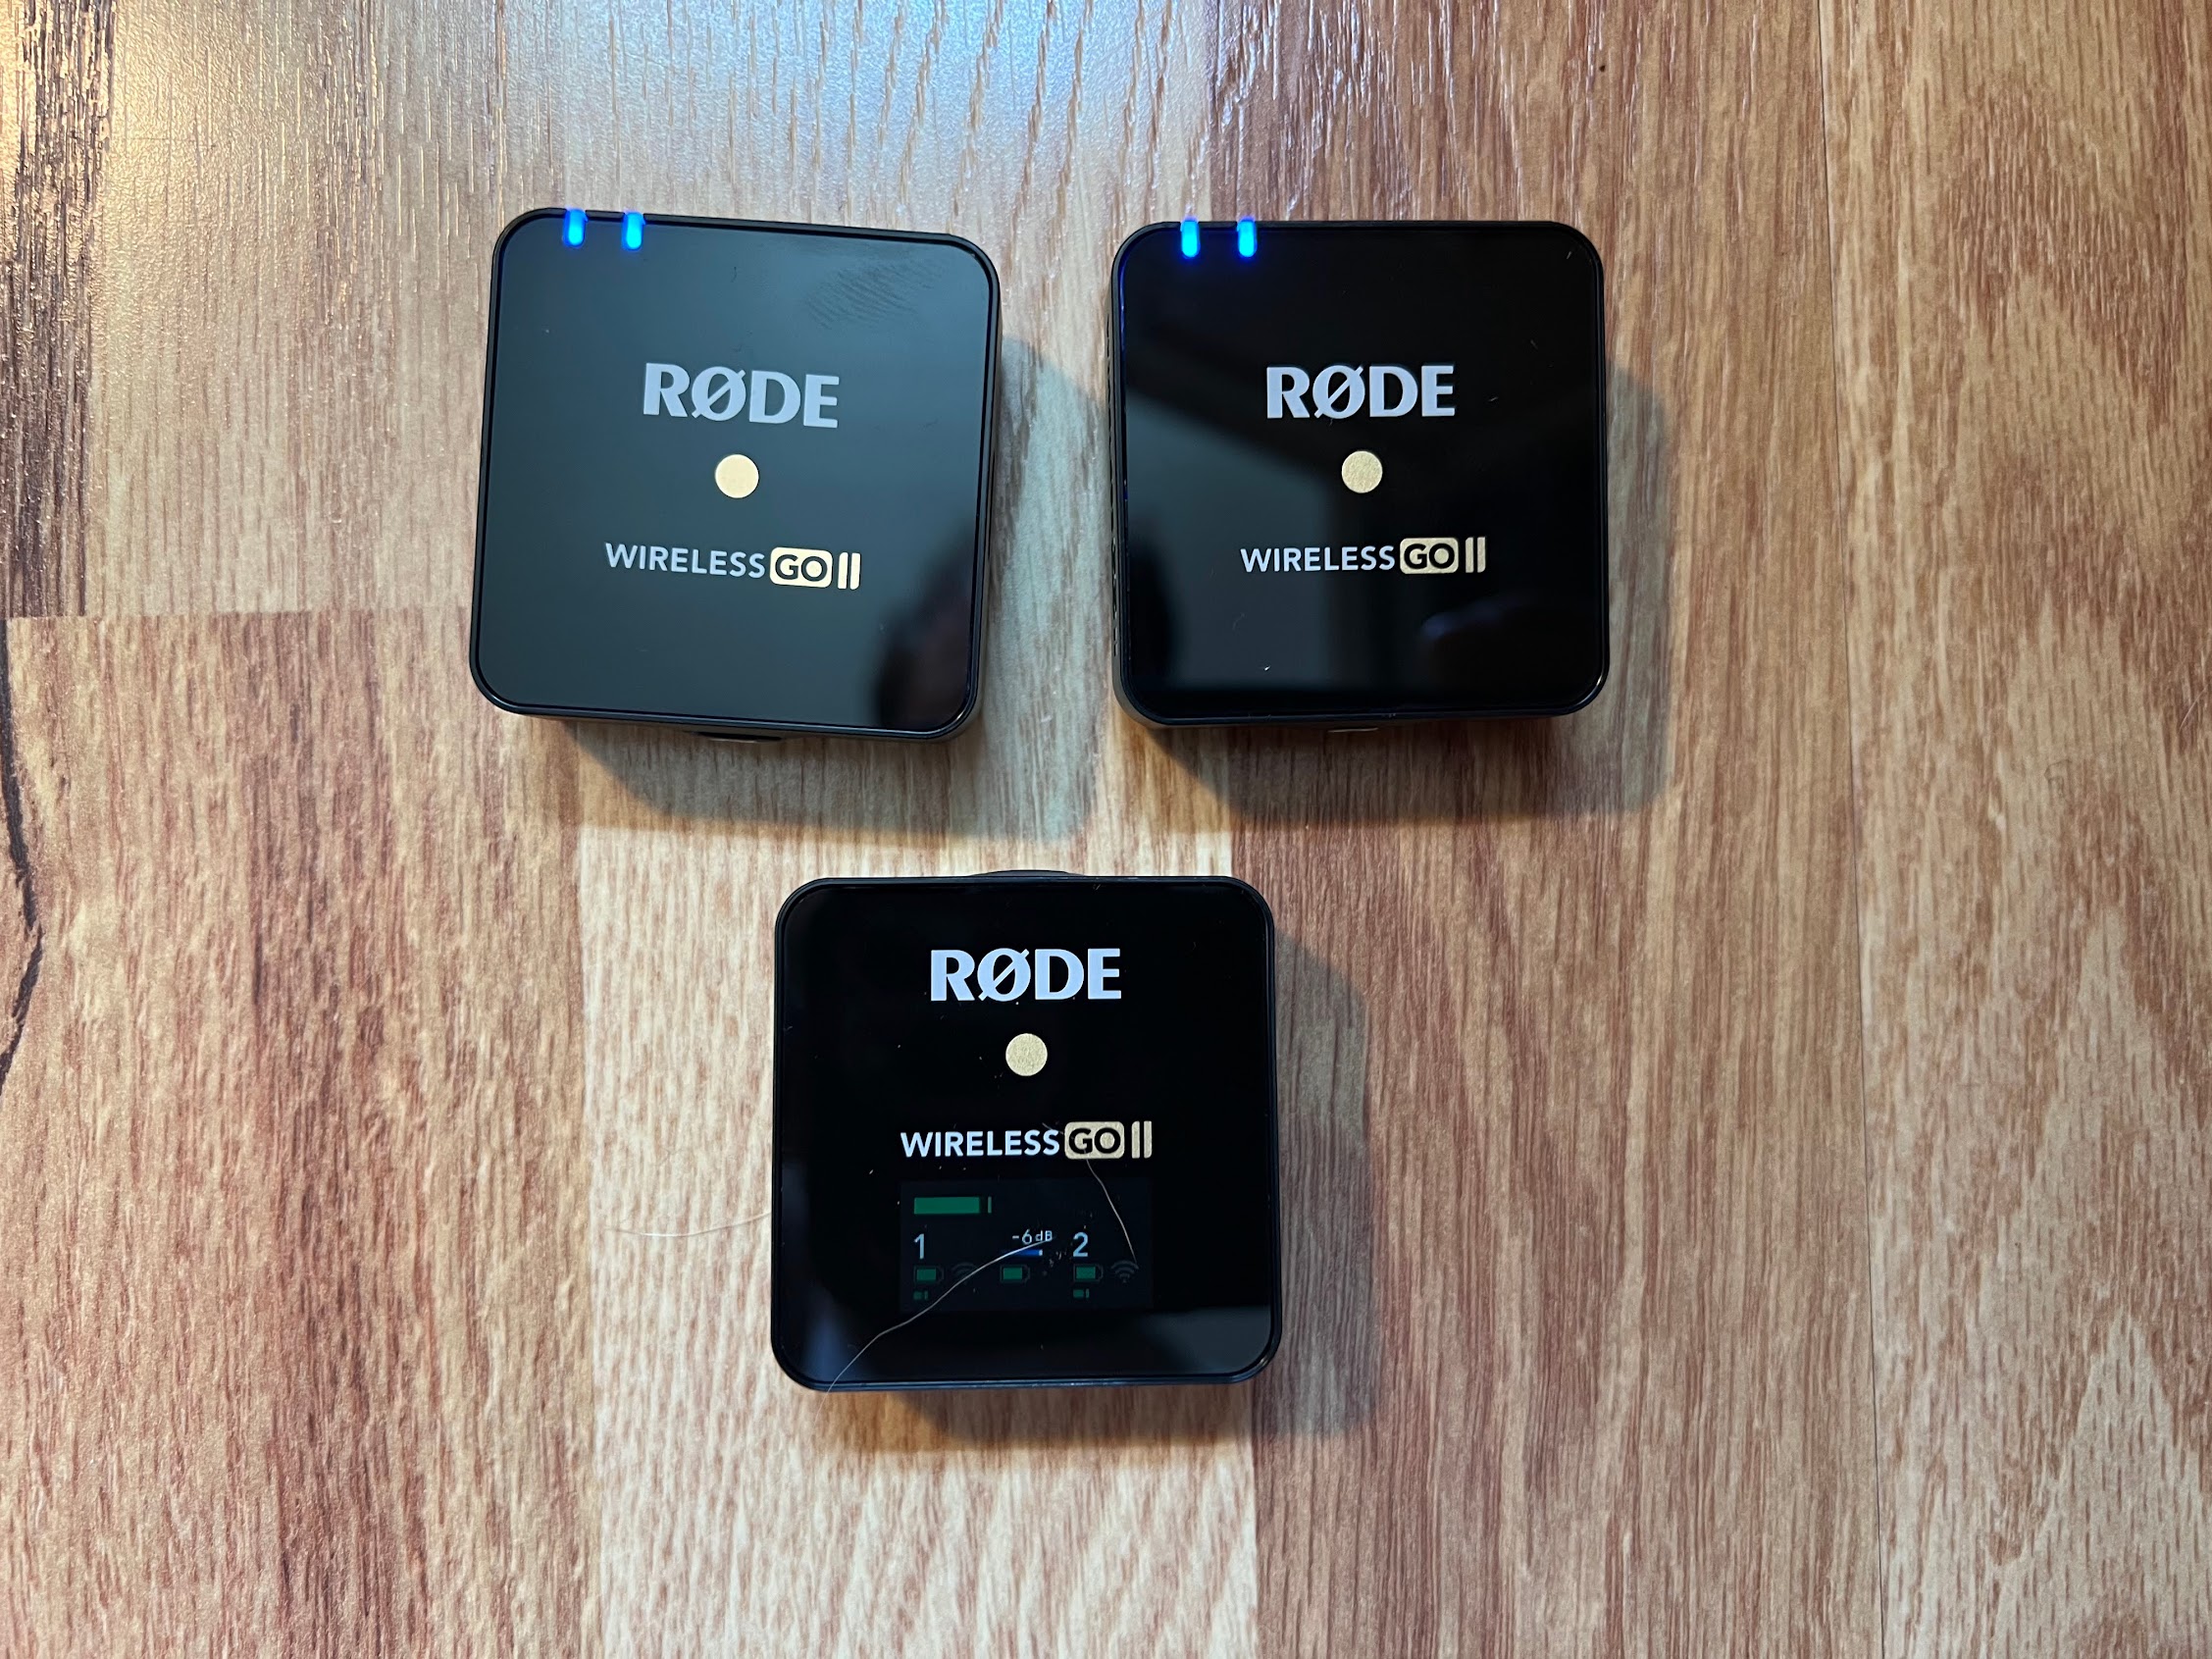
One of the sets of Wireless GO II mics we used.
I was looking for a dead simple way to get both of the Wireless GO II mic sets fed into the Yolobox, so I plugged them both into a simple headphone splitter I had lying around at home. I was pleasantly surprised to find that this cheap little headphone splitter could work in reverse and combine two (or I guess up to 5?) analog audio sources and send them out to one device. Hooray for simple analog signals!
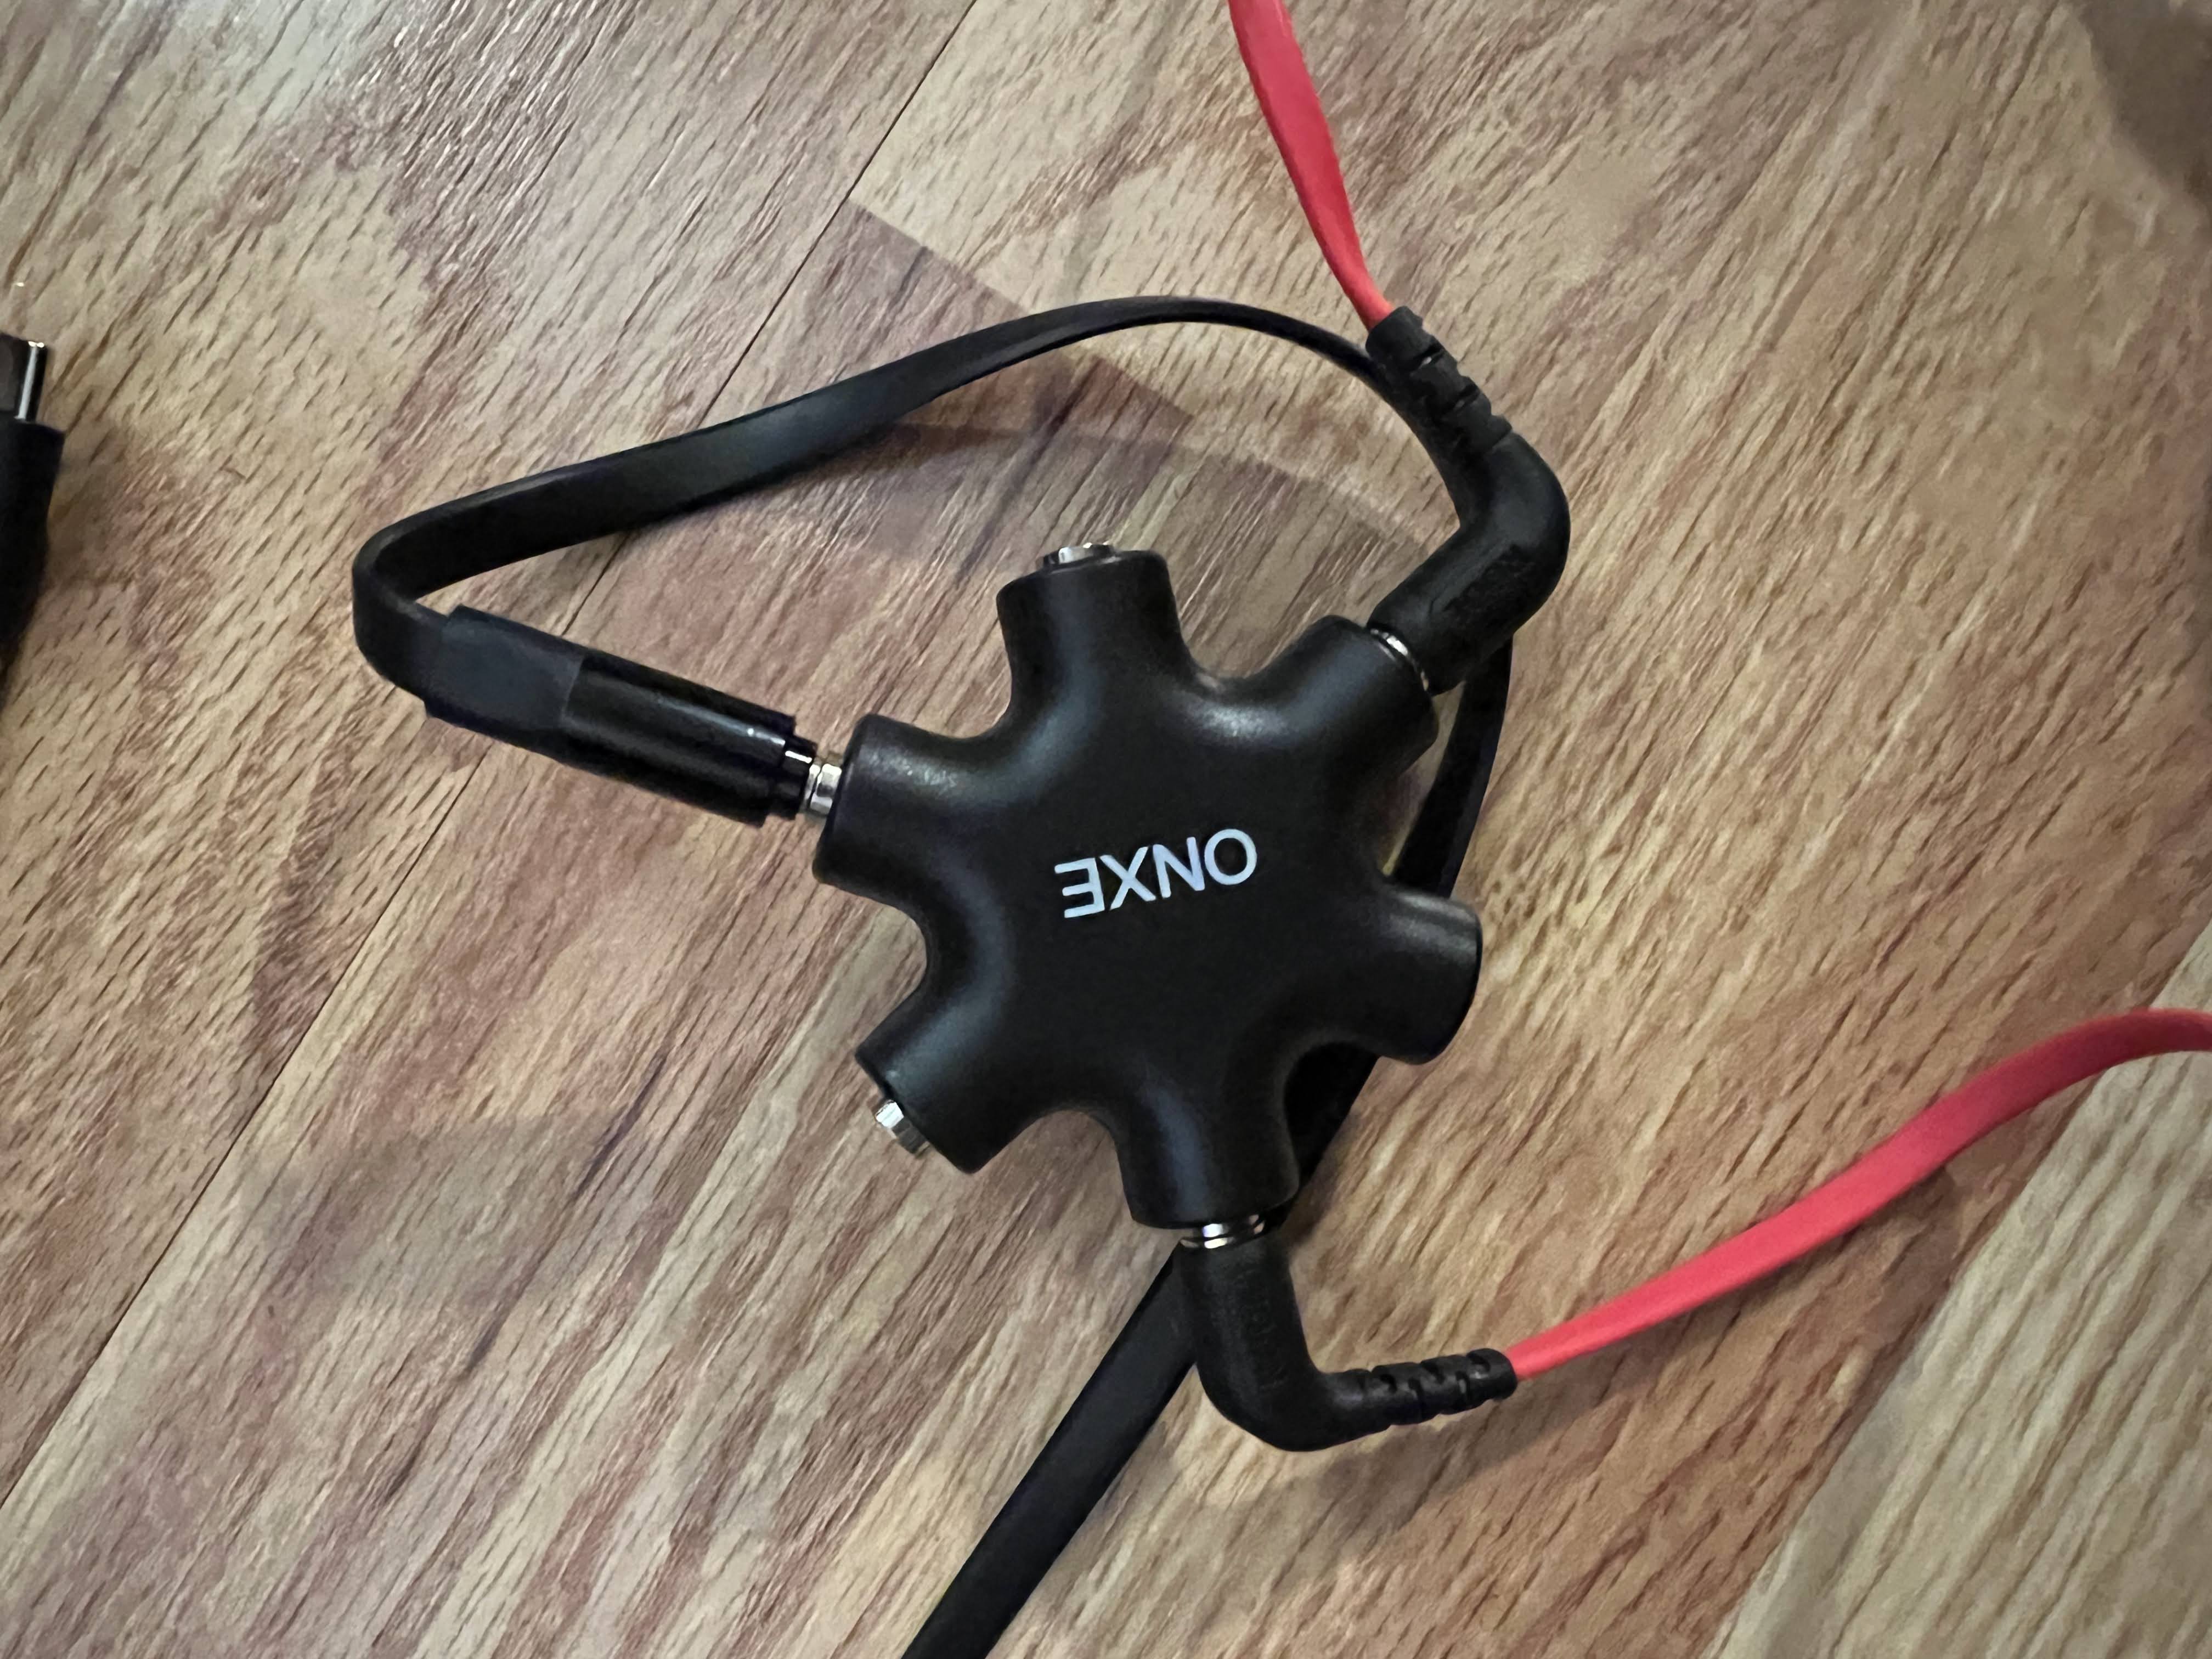
The headphone splitter. The red cables ran to each Rode receiver, and the black cable went out to the Yolobox.
For the keynotes, we were able to use the mics in the digital auditorium and get a feed of that audio from their soundboard via XLR. I ran that into my Zoom H8 and then the H8 plugged into my laptop via USB. I love this little device because of its flexibility and simplicity, and it worked well in this setup because I was also able to use its onboard stereo microphone to mix in a bit of room sound so you could hear the audience a bit during the keynote streams. It makes everything sound a little less sterile. 3
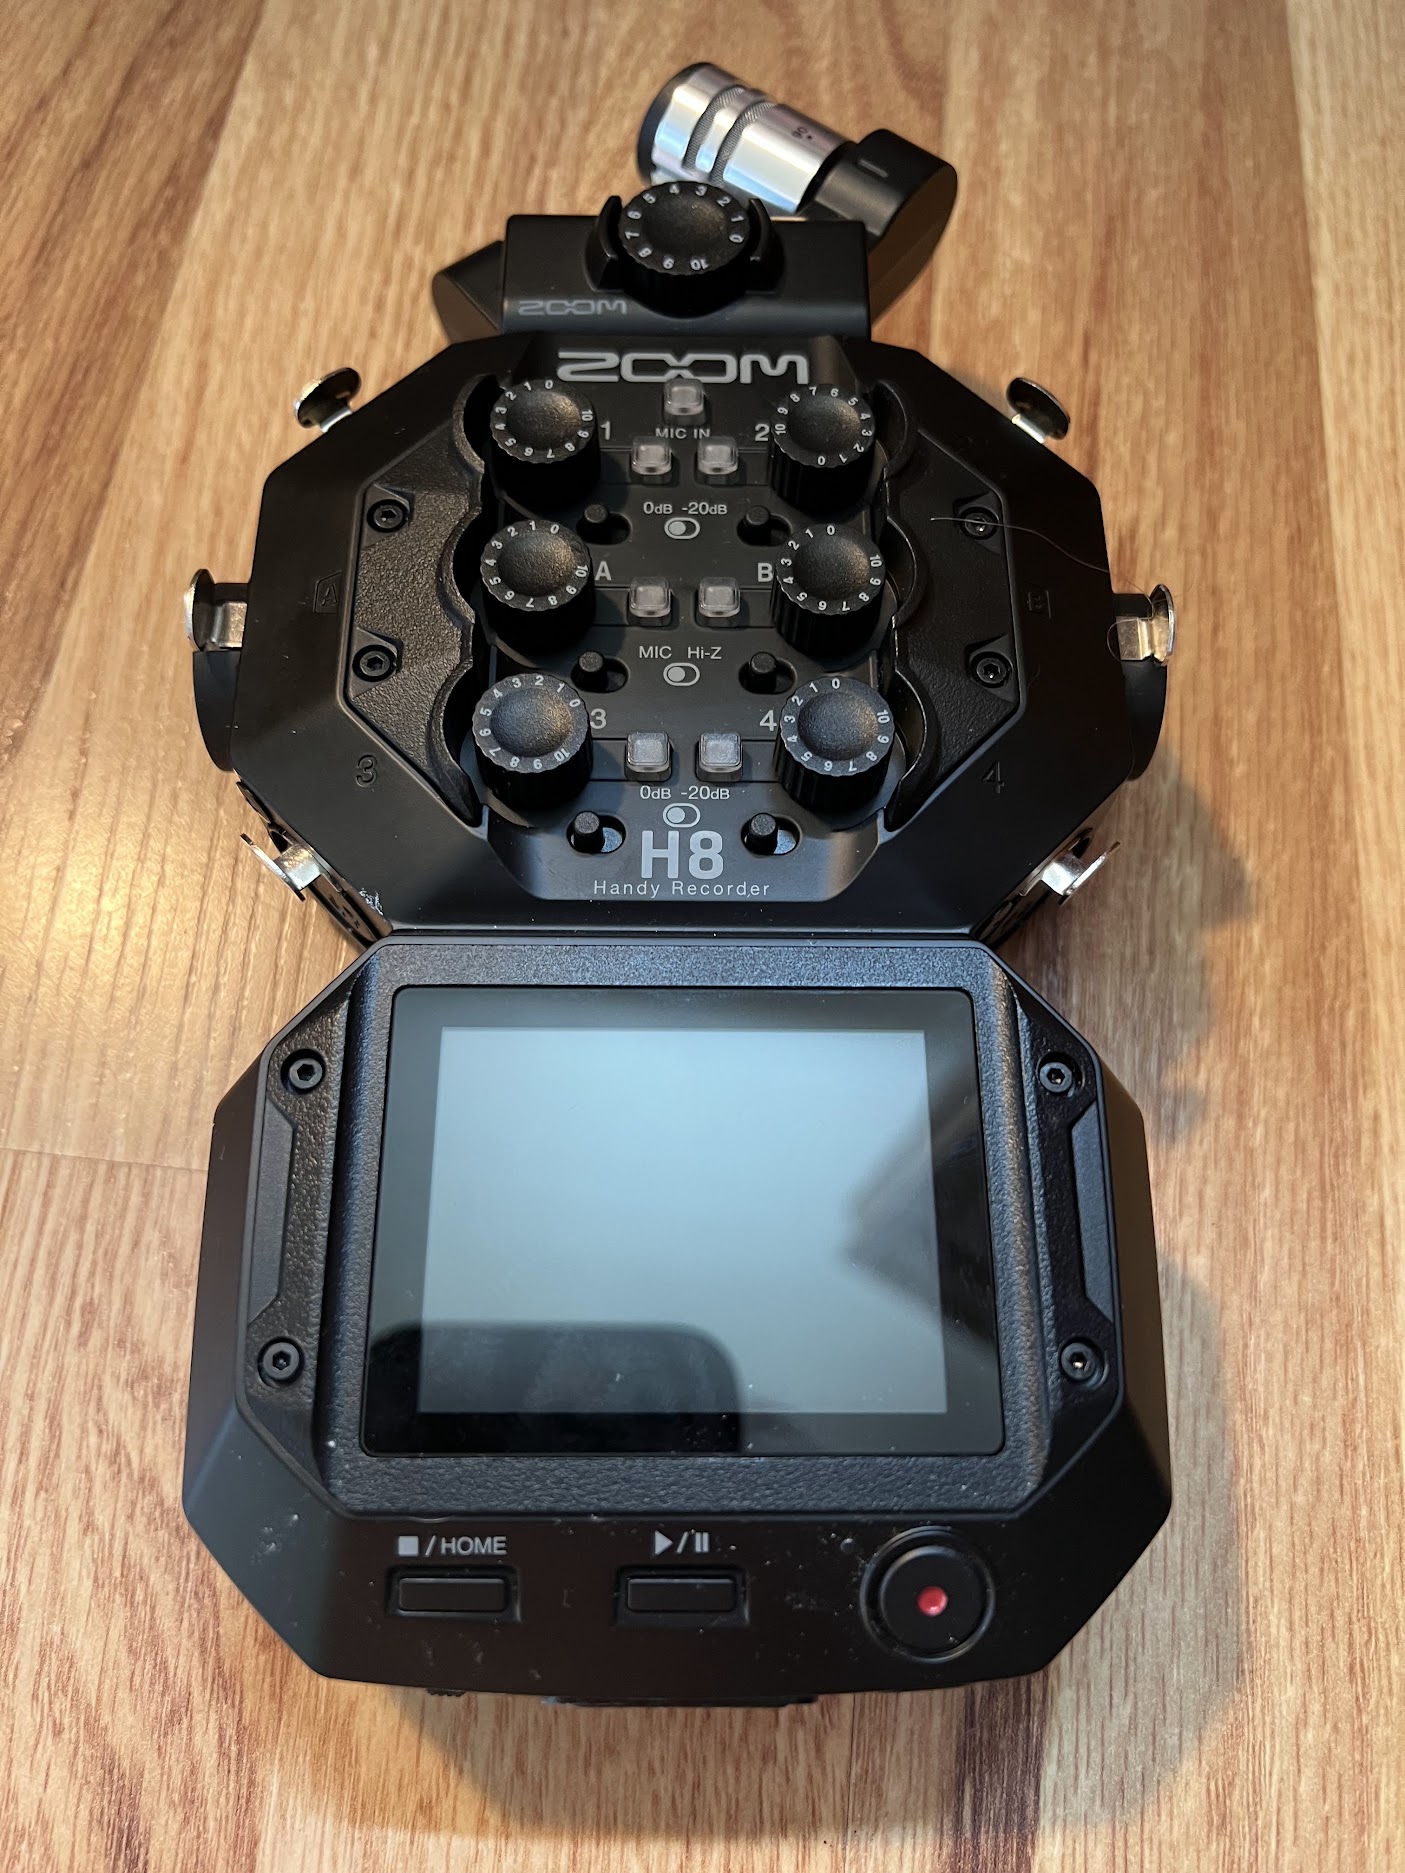
My Zoom H8.
Screen Capture
While the Yoloboxes have multiple HDMI inputs, which makes screen capture simple, we also needed to a way to get the signal back out to the projector in each classroom so both folks in-person and remote could see the presenter’s screen. I wish the Yolobox had the option to send a copy of a single source out via its HDMI output, but as of right now it doesn’t4, so we needed HDMI splitters of some kind. Basically, the presenter’s laptop would plug in into the splitter, then one cable would go out to the Crestron system in each classroom, and the other would go to the Yolobox for the stream. I bought some passive splitters on Amazon that worked well in my testing at home, but unfortunately did not play with the classroom AV5. Luckily, Tim had some at the arcade (similar to these OREI boxes) that we were able to use instead. Next time, I wouldn’t mind trying some smaller splitters that are USB powered (like these) to simplify the setup a bit, but Tim’s boxes worked well!
Using StreamYard for our keynote streams was essential to making screen capture work in the digital auditorium by giving our keynote speakers a link to join the “call” from their laptops to capture their screen over the internet. This allowed me to stay at the back of the room on the balcony and didn’t require the use of a wireless HDMI transmitter / receiver kit or anything else complicated / unreliable.
Tripods
Really that just leaves tripods, one of which I brought, one Andy brought, and one Tim brought. Not much to say about them, other than mine is the Manfrotto Compact Action Aluminum, which is absolutely tiny, which made it handy to fly with!
How did it go?
Overall, I’m pretty happy with the setups we had. The cameras were great and painless to use, we didn’t have any issues with the Yoloboxes, and the HDMI splitters Tim brought worked well. We had three problems pop up that I will address next time we do something like this:
-
The sound quality from the mics was excellent, but unfortunately throughout the day we encountered issues with the Tascam device we used in one of the classrooms repeatedly powering off. I didn’t really have the time to narrow down the issue and do further testing, so we kept an eye on it and powered it back on as needed. In the end, using a simple headphone splitter worked so well in the other classroom that I would probably replicate that setup in both locations next time.
-
We did have issues with the Wi-Fi on the first day of streams which did affect some of the sessions, but on the second day we had UMW IT whitelist our devices to work over Ethernet which resolved that issue. Next time, I’ll make sure to request wired networking from the beginning!
-
It would be nice to have a little nicer stream layout, one where the camera was either smaller, cropped, or otherwise not blocking part of the screen capture, as we did have situations where content on slides was hidden by the camera. I’d have to play with the Yolobox a bit more and see what’s possible there.
An example of the camera feed at the bottom-right getting in the way of Nick Plank’s slides
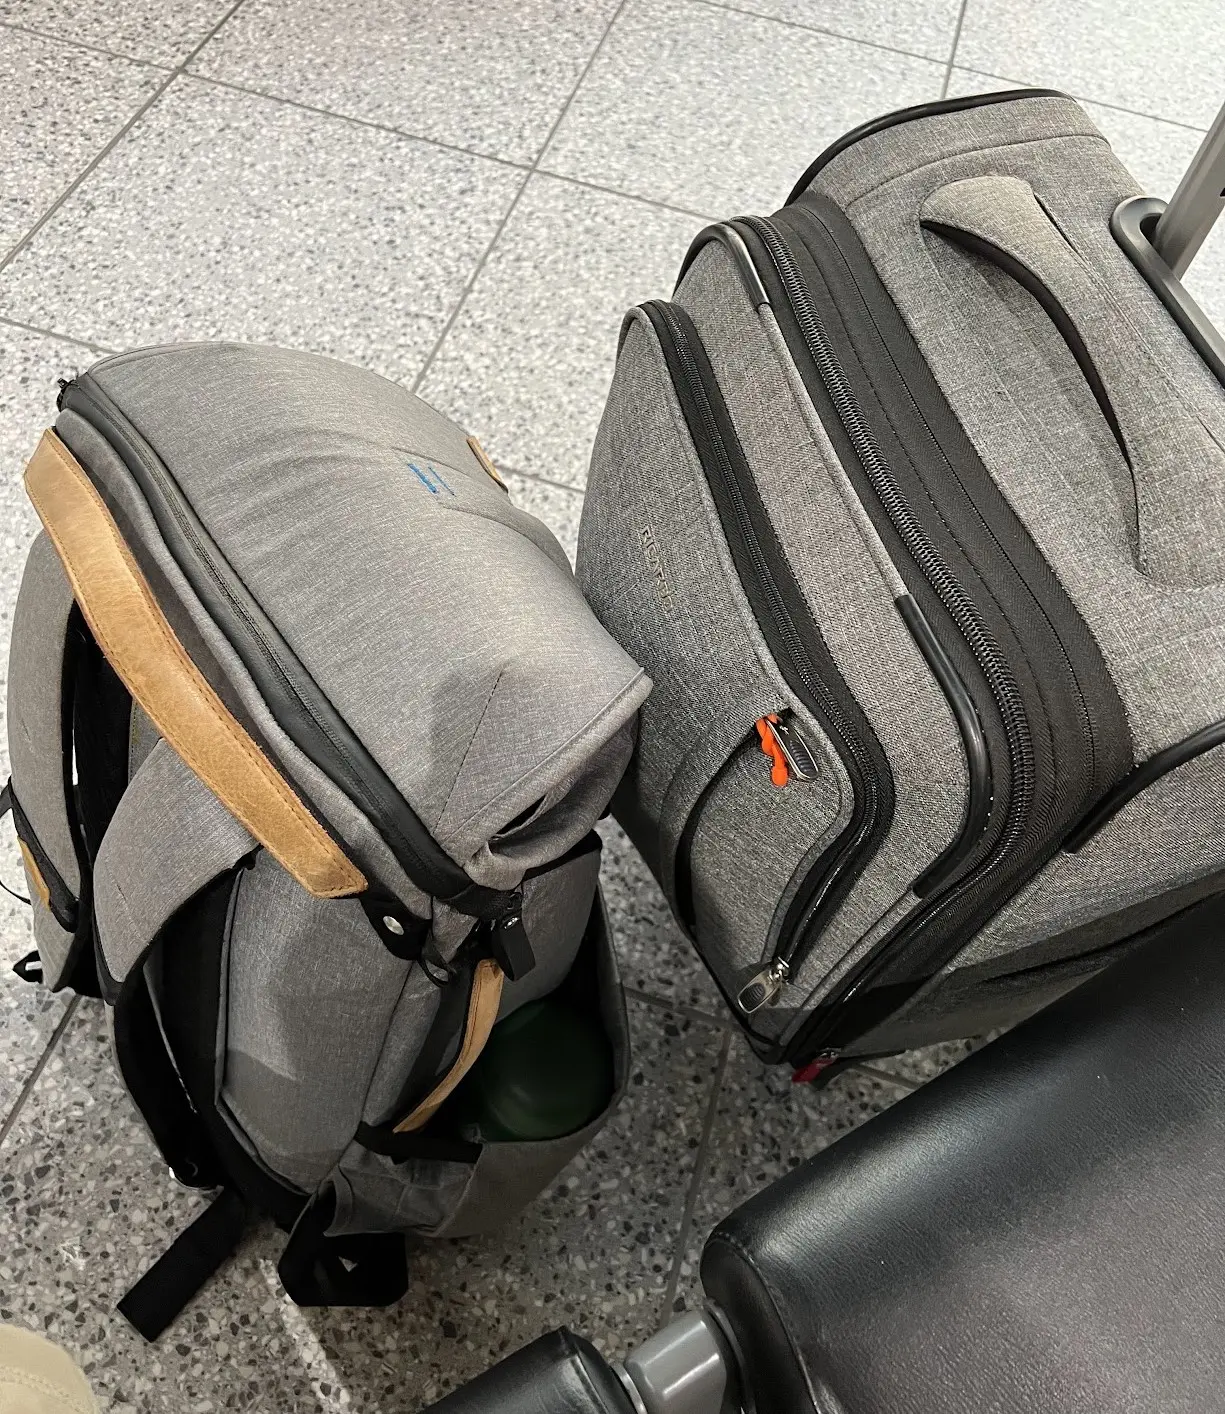
In case you are wondering about the cover image for this post, it’s a picture of everything I flew out to Reclaim Open with. My backpack contained the majority of the “mobile studio” as well as some stuff for the art fair, my laptop, and other electronics and travel stuff. My carry-on luggage mostly had my clothes, but I also shoved my tripod in there.
-
It’s a good video, even if the thumbnail makes me sigh. ↩︎
-
If I was responsible for coming up with a streaming setup for a high school or middle school athletic department, this thing would be a no-brainer. ↩︎
-
StreamYard has an option to use stereo audio, so that would have sold the effect even more, but I forgot to check that box 🤷♂️ ↩︎
-
Its HDMI output can either show the stream (usually you’d call this a program monitor), or it can mirror its own display. The latter option seems mostly pointless to me, at least for any setup I can think of. ↩︎
-
I really should have known that Crestron would bite me on this one. I’ve had to come up with solutions to “engineer around” classroom AV equipment too many times in my career. I should have known better than to expect that janky splitter I bought on Amazon to “just work”. ↩︎