A Tip for Quick SSH Access on Reclaim Cloud
I use SSH to access different environment in Reclaim Cloud a lot, but one thing that I like to do is use a native terminal app (I use iTerm2 on macOS) instead of the Web SSH functionality built in to Jelastic. Web SSH is amazingly convenient, but web-based terminals like this frequently lack some of the features I am used to using in desktop-based terminals like customizable keyboard shortcuts, organization features like tabs and panes1, etc. Sometimes, copy and paste is also a little funky on Web based terminals as well.
Luckily, you can easily use any terminal or SSH client you want with environments on Reclaim Cloud. For environments where you know the password of the user account and you give it a public IP address, you can use SSH like you would to log in to any other server.
But what about environments that you don’t know the password, or don’t have a public IP? Or maybe, like me, you want a way to quickly jump between a bunch of different environments like you can with Web SSH? For this we have the Jelastic SSH Gate! This will allow you to use a text based menu in your terminal to SSH access to any environment in your account!
Adding your public key to your Reclaim Cloud Account
To get started, you need to generate a key pair using the terminal on your computer with ssh-keygen. You can in most cases just press enter and accept the defaults when doing this. Next, you will want to copy the contents of the id_rsa.pub file that gets generated. id_rsa.pub is the public part of the public/private key pair. Basically, you never want to share the private key, but the public key is what you can load on to other computers to prove you are who you say you are.
You can use the cat command to print the contents of the file to your terminal, where you can copy it.
cat ~/.ssh/id_rsa.pub
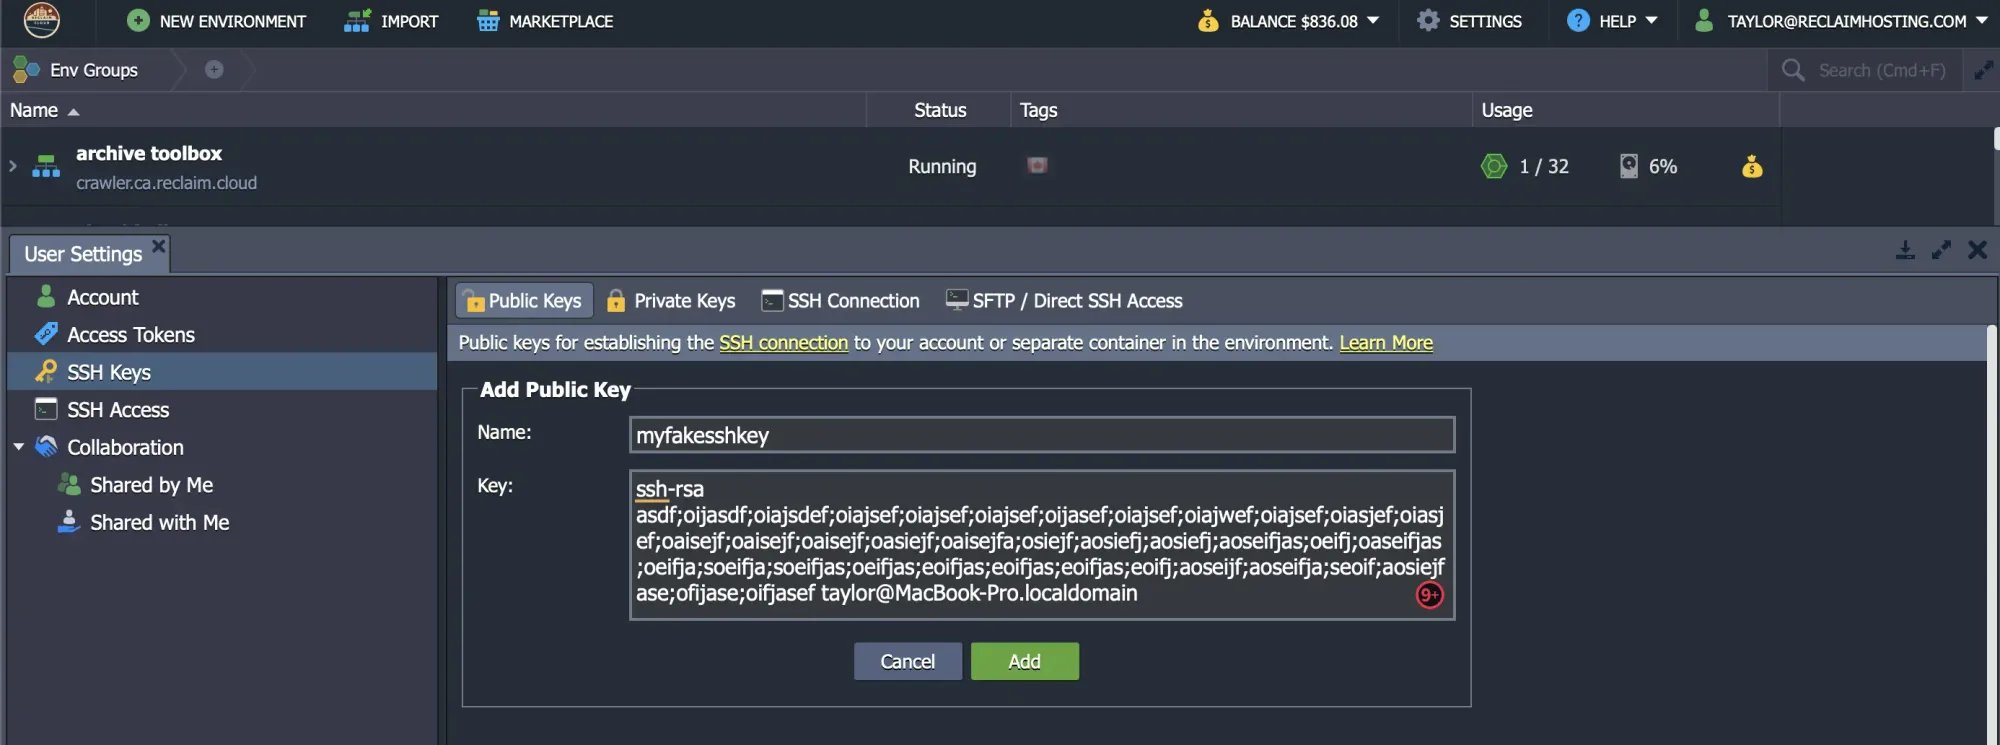
Then in Reclaim Cloud you’ll go to Settings > SSH Keys then click on Add Public Key. Then paste your public key in the Key: box and hit save.
Trying out the SSH Gate
Finally, you can click on SSH Connection in Jelastic, to find the command that you will need to enter to use the SSH Gate.
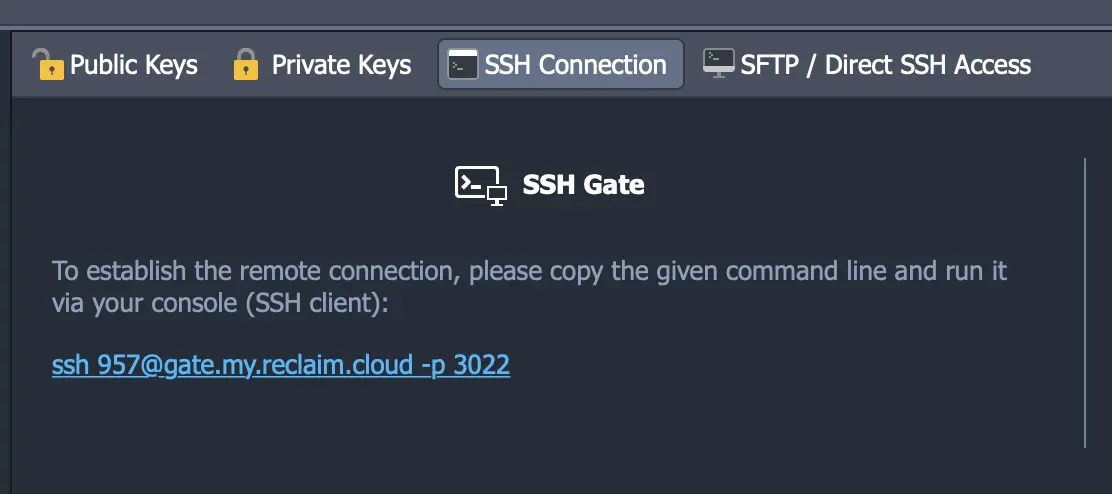
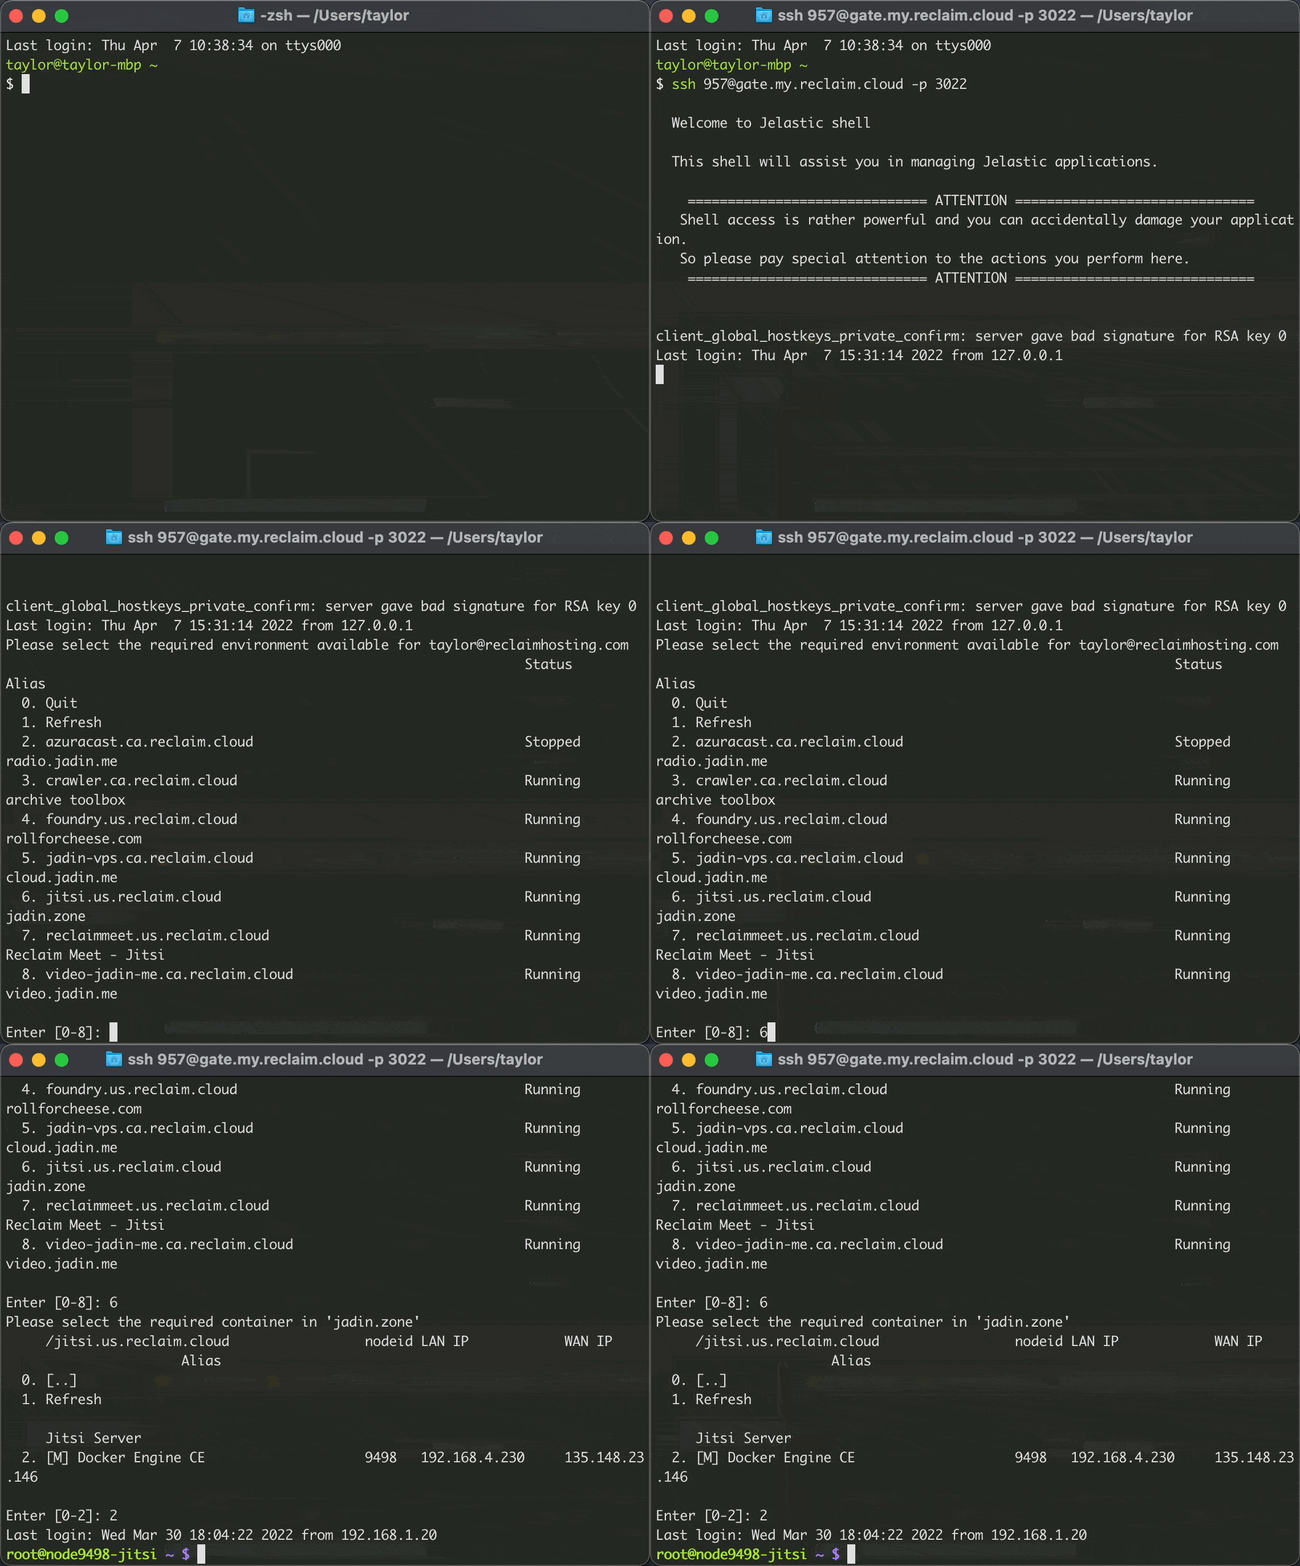
Then paste that command in your terminal!
Making an alias
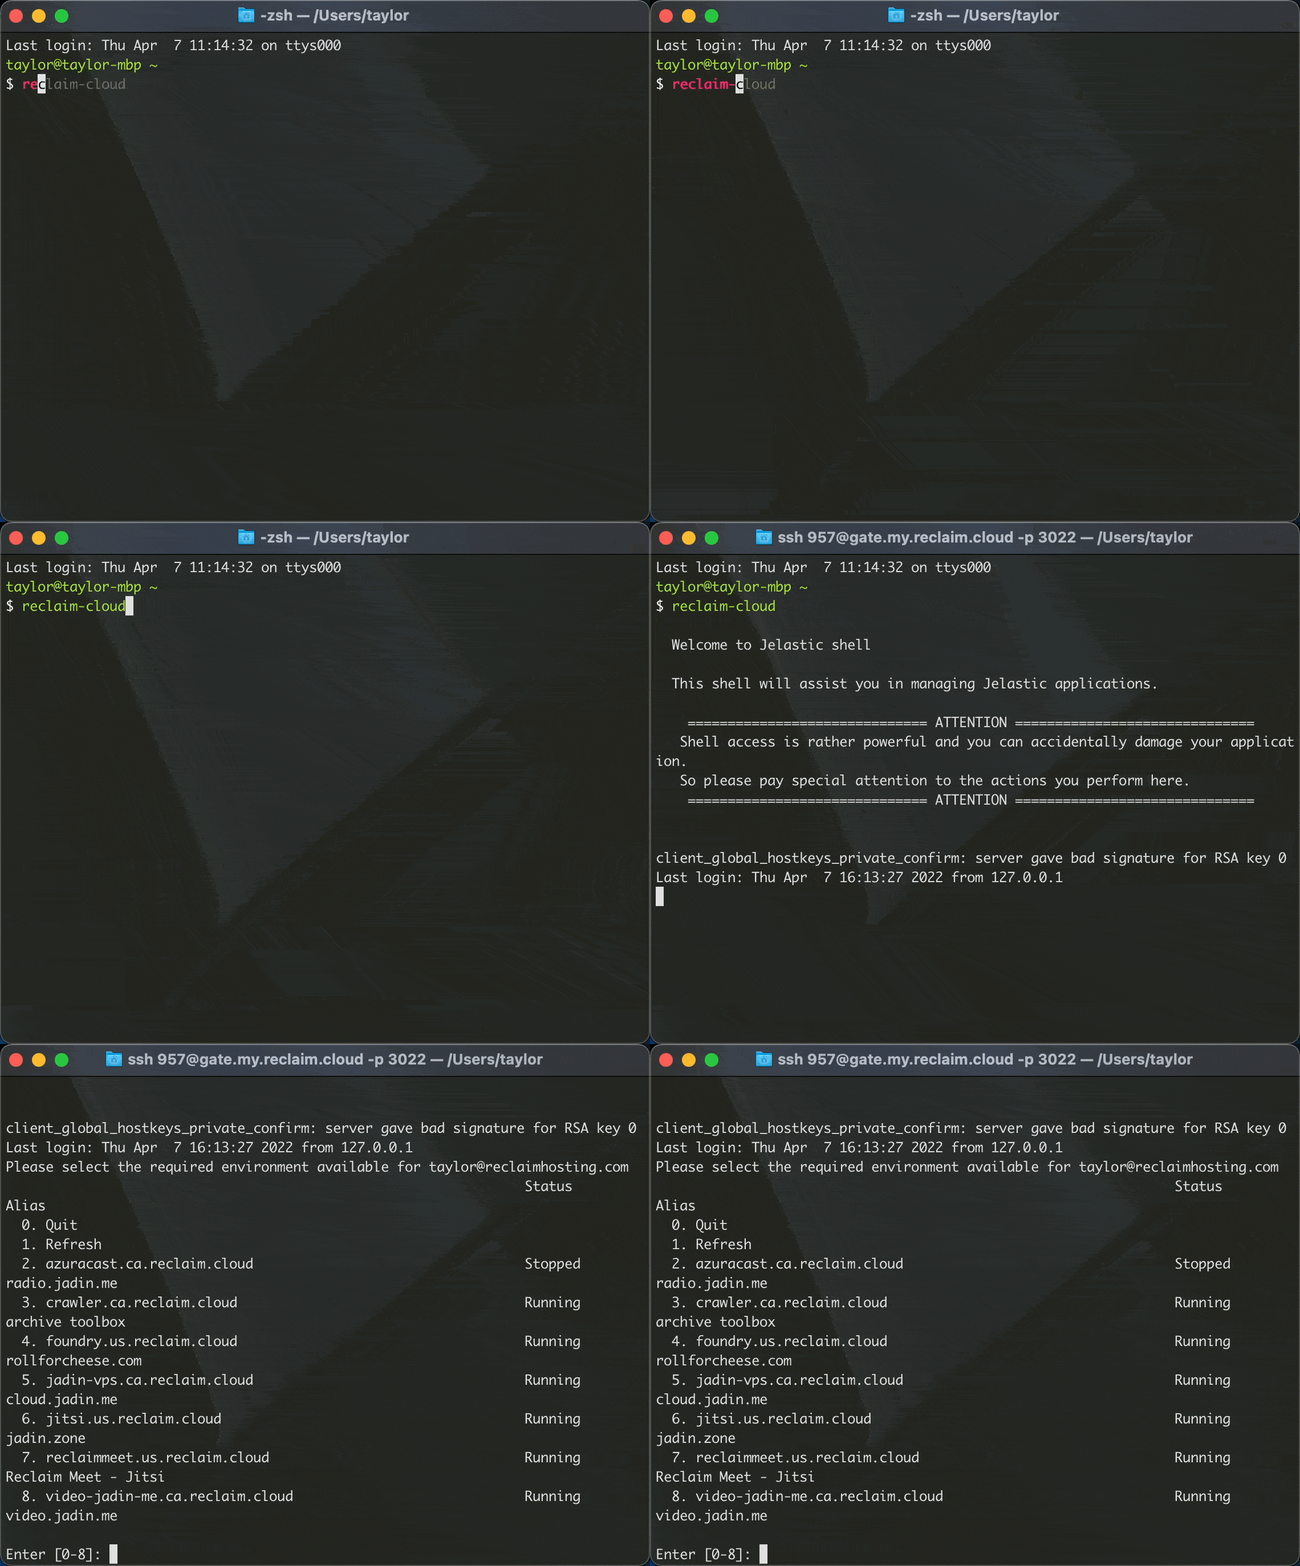
Ok, but here’s the final tip! We’re going to make a shortcut for this command, because who will ever remember that? We can use a terminal alias so that you only have to type in reclaim-cloud (or whatever you want to name your alias).
I’m going to focus on Macs using the ZSH shell, which has been the default on macOS for the last few years. If you don’t know which shell your computer is set to use, type echo $0 into your terminal, and it should say zsh or bash. If you are on a Mac and you aren’t running ZSH (this could be the case if you have had your Mac for a few years, macOS won’t change these on its own) I would recommend switching to ZSH by running this command:
chsh -s /bin/zsh
If you end up changing your shell with the command above, you will need to close your terminal window and open up a new one.
Now that we are working in the same shell, we are going to edit our .zshrc file to make our alias. You can technically use any text editor, but if you are new to this stuff, I’d recommend using nano. Enter this command to get started:
nano ~/.zshrc
This file may or may not have stuff already in it, depending on your setup. In either case, we are going to use the arrow keys to scroll to the end of the file and add a new line:
alias reclaim-cloud='SSH_GATE_COMMAND_GOES_INSIDE_THE_QUOTES'
You’ll want to replace the text inside the single quotes with the SSH Gate command you copied from earlier.
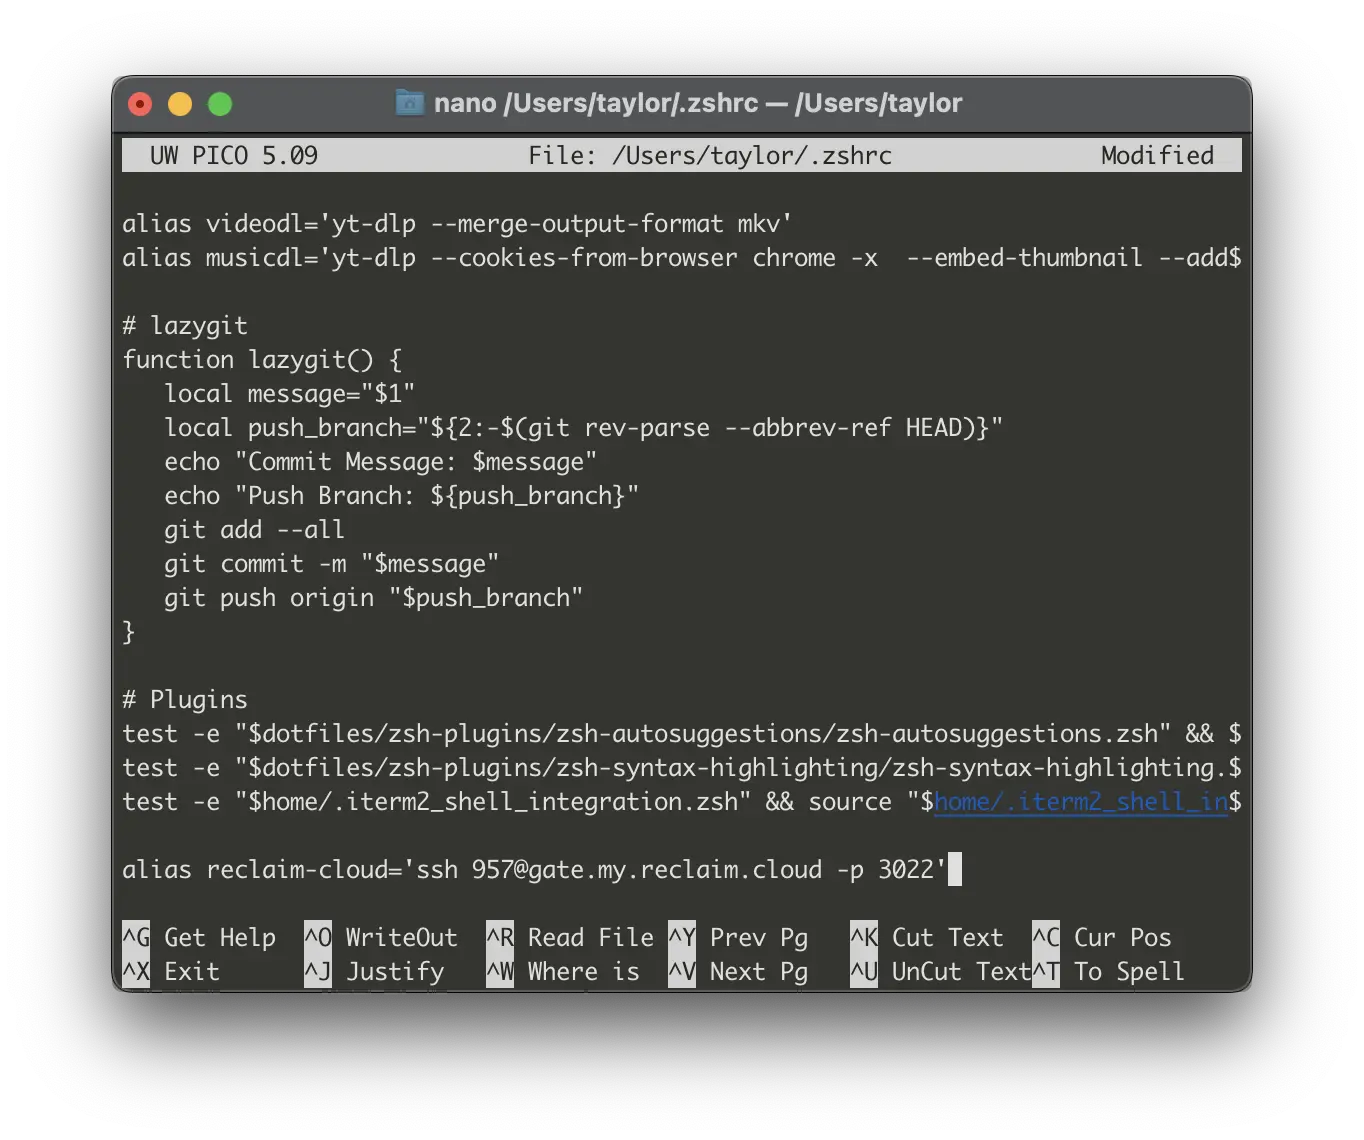
Then when you are all set, you will want to use the CTRL+X keyboard shortcut to exit, then type Y, then the Enter key to save your changes. Now close your terminal window, and open up a new one and try out your new alias!
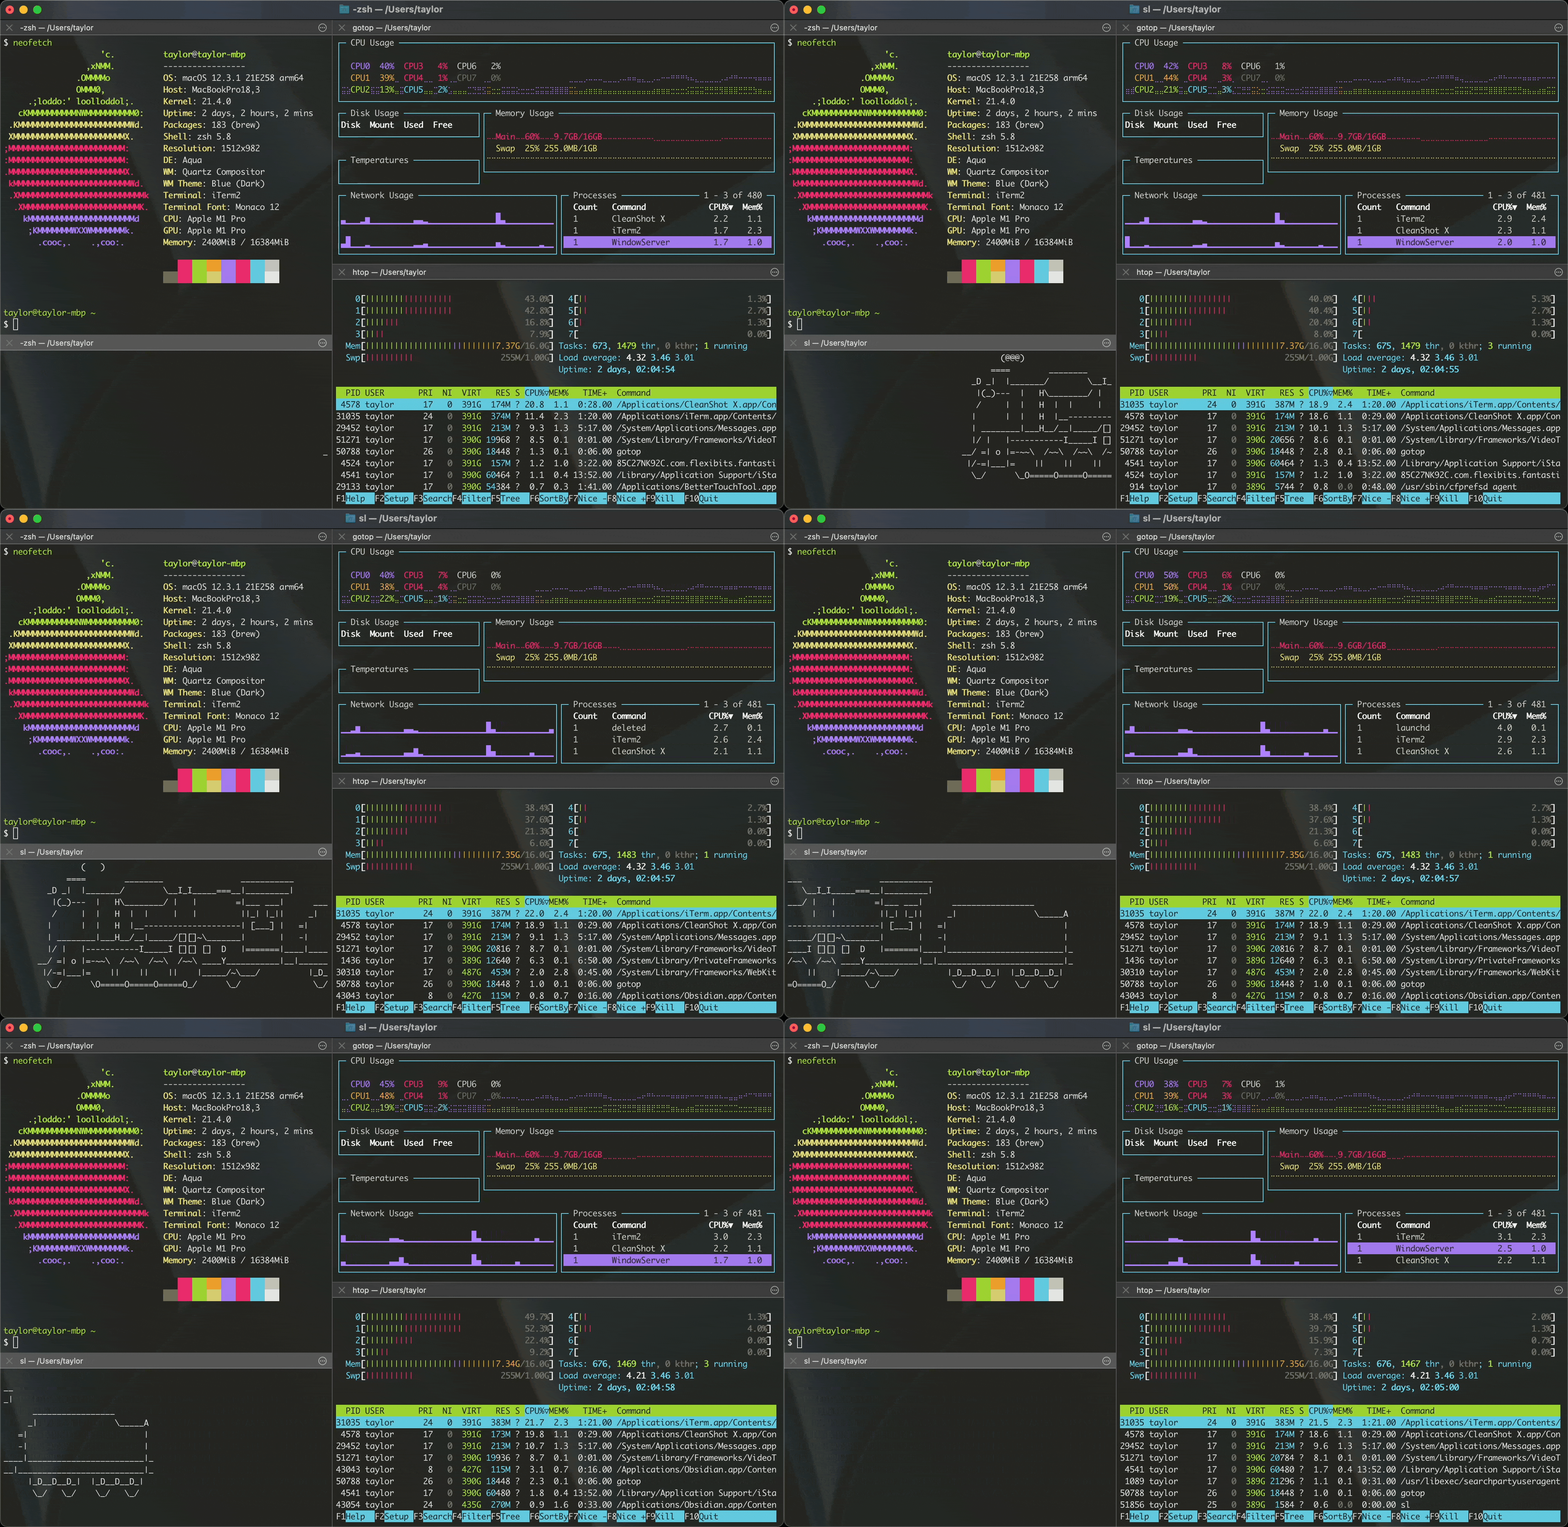
How could I possibly be productive WITHOUT stuff like this /s
Comments